Key takeaways
- A raised threshold or transition gap stops a floor robot before the rest of the route matters.
- Measure the rise on the wheel path, not the trim you can see.
- Get the vendor's maximum step climb height and maximum gradient in writing.
- Mark the robot's lanes and walk them with the facility team before install day.
- Fix the few blockers early, then run a go or no go check on the day.
Why does the doorway decide the install date?
Most floor robot delays start at a doorway. A raised threshold, a gap where carpet meets tile, or a transition strip that has lifted at one end can stop a machine that otherwise fits the aisle with room to spare. The robot does not weigh how clean the rest of the route looks. It stops at the first edge it cannot climb.
The fix is a short audit done before anyone books an install date. Measure every opening and transition on the planned route, mark the lines the machine will drive, and clear the few spots that fail. In practice, a short list of locations decides the schedule, so find them while there is still time to order parts.
What do the ADA threshold rules say?
Accessibility rules set limits on level changes. They were written for people and wheelchairs, but they make a useful planning reference. According to a summary of the 2010 ADA Standards on idighardware.com, rises up to 1/4 inch may be vertical, and rises over 1/4 inch up to 1/2 inch must be beveled no steeper than 1:2. A doorway threshold is 1/2 inch high at most, and any change greater than 1/2 inch must be ramped at a running slope no steeper than 1:12.
Existing or altered thresholds may reach 3/4 inch if beveled on each side above 1/4 inch at no steeper than 1:2. One summary ties that exception to exterior doors, which does not match the wording as reported, so check the primary text. Stacked small steps are a gray area, and one source says they would not typically meet the intent of the standards. Treat them as a failure until a reviewer clears them.
Two cautions apply. The search did not find a 2026 change to these figures, and the figures come from search summaries that were not reviewed in full. Confirm against the official 2010 ADA Standards or the edition your jurisdiction adopted before you quote any number to a client or a building manager.
How do you measure a threshold for a robot?

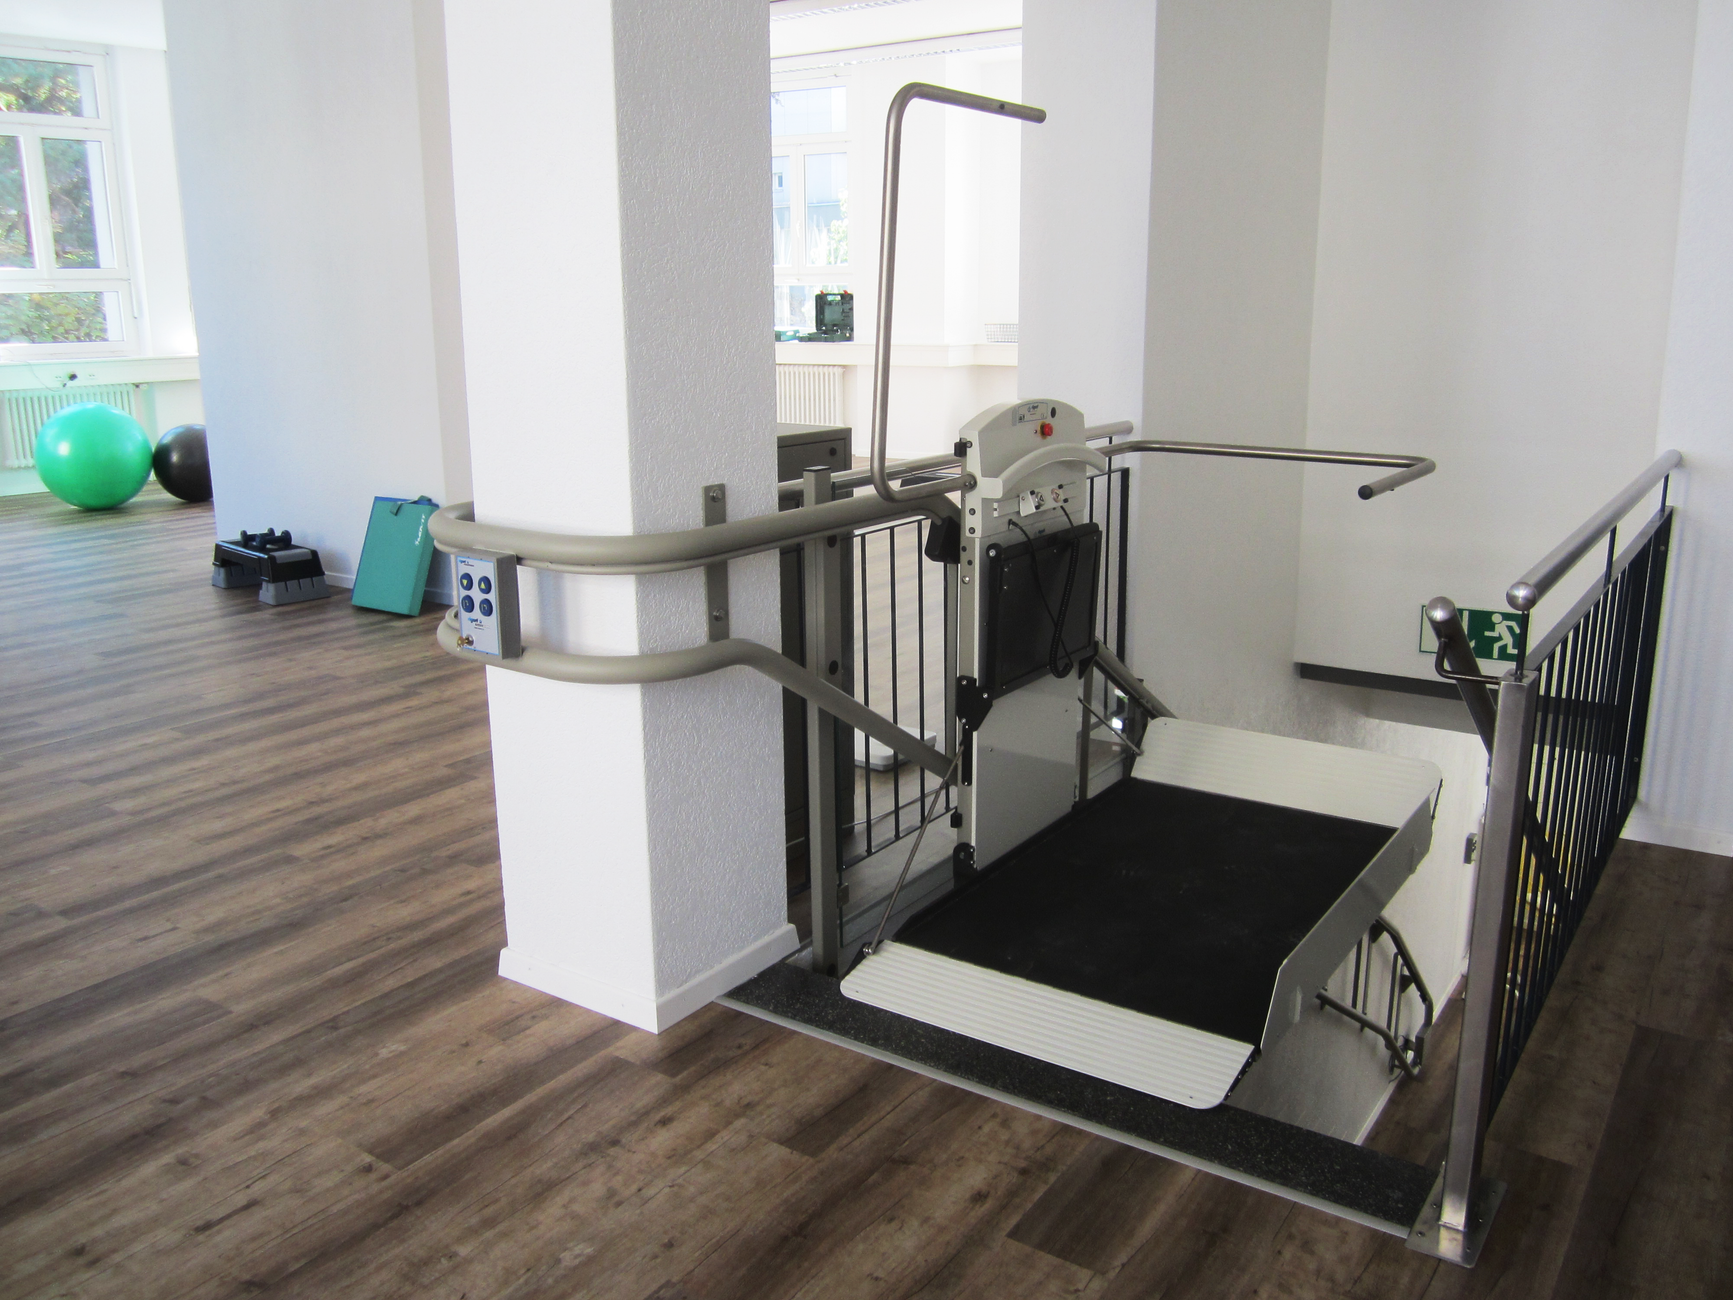
Measure the rise the wheels must climb. Start on the approach side, run the tape along the line the robot will drive, and read the height to the top of the lip on the far side. The visible trim or decorative strip may not match where the drive wheel meets the floor, so the measurement belongs on the wheel path. Some consumer robot vacuum guides make the same point and note that double layer thresholds need a figure for that exact model.
Record each opening on one sheet so the reviewer can compare it with the vendor's figures later:
- Position on the route, plus which way the door swings
- Rise on the approach side, measured on the wheel path
- Edge shape: square, beveled, or a gap
- Width of any gap at a transition strip or seam
- Floor material on each side, such as carpet, tile, or metal
- Whether the door has a stop, a hold open or a closer that could land in the lane
Which climb and slope figures should you request?
Floor machine specs rarely line up with building code figures, so compare like with like. One industrial listing for a floor cleaning robot, Instor, gives a maximum obstacle height of 200 mm, a chassis height of 80 mm and a maximum slope of 35 degrees. That listing was checked for this piece and shows no date. It is not a verified spec sheet, so confirm the figures with the manufacturer before relying on them.
Manual scrubbers are rated differently again. A Windsor 17 inch manual scrubber manual gives a maximum rated climb and descent angle of 2 percent, with empty or full tanks. That is a slope rating, not a step height, and it does not tell you whether a lip can be crossed.
Ask every vendor for two figures in writing: maximum obstacle or step climb height, and maximum gradient. Consumer vacuum figures should not stand in for commercial ones, even when the two look alike.
How do you mark and walk the route?
Once the openings are measured, mark the route on the floor with tape or paint in the lanes the robot will actually drive. Lines in the middle of a corridor help nobody. Walk the route with the facility lead while it is empty, then again during a normal shift when carts, people and deliveries are moving.
Look for drains, cords, sliding mats, parked carts, and doors that swing into the lane. Note every place where the route crosses a flooring change or an elevator threshold. Seams like those cause more stalls than long open floors do, because a robot can catch its edge and stop mid route. Someone then has to walk over and reset it.
Which few fixes unblock a route?
Most blockers have simple fixes, and a few need a facility decision. A beveled transition strip, a ramp rated for the measured rise, a flattened lifted seam or a relocated mat can clear a route. Adjust door closers, stops and hold open devices so a door cannot close into the lane during a run.
Any change to a threshold can affect accessibility or the fire rating of an opening, so the building manager should approve it before work begins. Treat a new ramp as a construction item, not a floor finish, and check its height against the vendor's figures before it goes in.
This is where a site assessment pays off. Service Robot Co. maps the route, flags the openings that block a robot, and works with the facility team on each fix. Because we are OEM neutral, the robot is matched to the openings and the work, not to one manufacturer's catalog. Our lease quote comes after that assessment, as one fixed quote over a three year lease.
What belongs on the install day go or no go checklist?
Run this list on install day before the robot leaves its charging point. One no means the route waits until the fix is in place.
- Every measured opening sits within the rise and gradient the vendor put in writing
- Each flagged seam has a bevel, ramp or cover that was walked with the robot in place
- Doors on the route are stopped or held so they cannot close into the lane
- Marked lanes are clear of carts, cords, drains and loose mats
- The building manager has approved every change to a threshold
- A test run crosses each flagged opening at least once without a stall
- A named contact knows what to do if the robot stops mid route
Frequently asked questions
Want a robot working for you?
Tell us the job and the site. We will recommend the robot, quote the lease, and keep it serviced.